Import Directory Service Data into Business Objects
The LDAP Import Wizard assists with importing LDAP data. Before importing data, create a Business Object to import the data into, and then complete importing Customers using the Customer-Internal Business Object. The CSM Scheduler can be used to import LDAP data at scheduled times. For more information, see Create a Scheduled Item.
To import LDAP data into Business Objects:
Note: The Wizard and page names depend on the Directory Service selected on the General page.
- In CSM Administrator main window, click the Database category, and then the Import from Active Directory task (or other directory service) to open the Import Wizard.
Click Next.
- Select the Directory Service that was configured to Import Active Directory Users/Customers in the Customer - Internal Business Object.
Click Next.
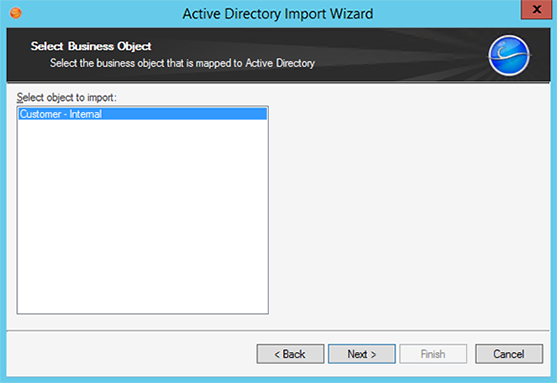
- On the Select Business Object page, click to select the Business Object that is mapped to Active Directory, and then click Next to continue.
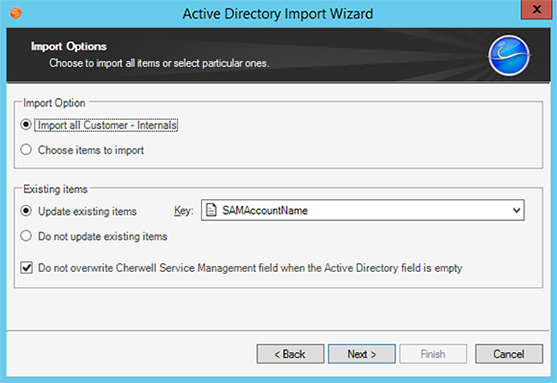
- Select the option to either import all items or select particular ones.
- Import Option: Select Import All (the Business Object selected in the previous step appears next) or select Choose items to import.
- Existing items: Select Update existing items, and then select the Key in the drop-down. If any existing items should be refreshed select the Do not update existing items check box.
- If CSM data should not be overwritten when LDAP field is empty, select the Do not overwrite CSM Service Management field when the LDAP field is empty check box.
- If the Import all radio button is selected, the filter page opens.
- Start Import at: Shows where CSM searches to import Active Directory Users.
- Additional Filters on Customer-Internal: Applies filters to filter out the records returned. The example uses two filters:
- ObjectCategory=Person: Ensures that computers are not included along with people in the records returned.
- User accounts that are not disabled: Ensures that disabled User accounts are not included in the records returned.
- Click the Add button to set up additional filters or Delete to delete filters.

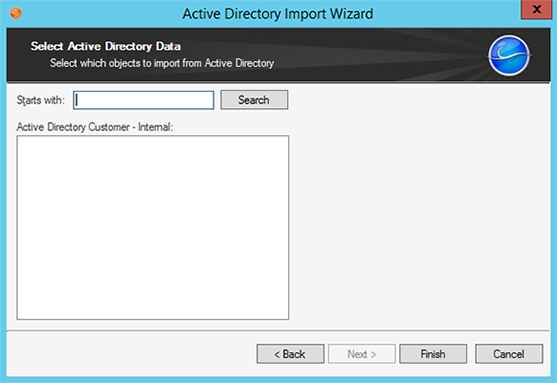
- If the Choose items to import radio button is chosen, the Select Active Directory Data page opens. To view items, either leave the Starts with text field empty or enter a few characters in order to narrow the search.
- Click Search.
- Click to select Customer-Internal items.
- Click Finish to complete the import.Tip: Use the Scheduler (CSM Administrator>Scheduling>Edit Schedule) to import Customer data consistently at a defined date and time.