Add Bomgar Form Elements to the Portal Configuration Item Form
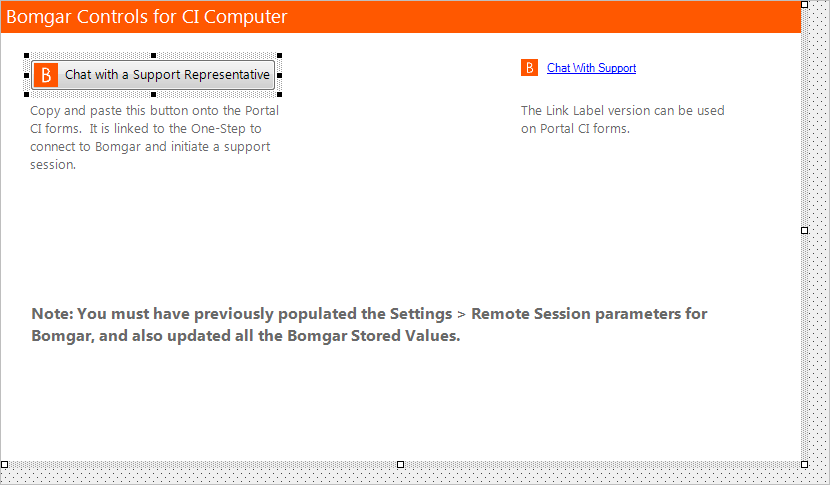
Use the Form Editor to add a Bomgar Form Control to applicable Portal Configuration Item (CI) forms. The Form Control allows Users to initiate a remote chat session with a representative. The mApp provides the option of using a button Form Control or link Form Control, based on your form design.
Note: This functionality is only available if you have applied
the Bomgar Integration mApp. For more information, refer to the
mApp Solution Tech Notes documentation.
To add the Form Control to the form:
- Go to the Business Object Manager in the Blueprint used in the previous steps .
- In the Current View drop-down, select Portal Default.
- n the Business Object tree, click a CI Business Object (example: Config - Computer).
- Click the
Form button
 .
Tip: You can also click View>View Form (from the Object Manager menu bar) or click the Edit Form link (under the Appearance area).
.
Tip: You can also click View>View Form (from the Object Manager menu bar) or click the Edit Form link (under the Appearance area). - In the Form drop-down, select the
Bomgar CI Controls form.
- Select a
Chat with a Support Representative
Form Control (either the button or link).
Note: You must define the CSM Remote Support Settings and the Bomgar Stored Values for the Form Control functionality to work.
- From the menu bar, click Edit>Copy.
- Select a
Chat with a Support Representative
Form Control (either the button or link).
- In the Form drop-down, select
Default Form.
- From the menu bar, click
Edit>Paste.
The Form Control shows on the Form.
Note: The Bomgar Form Control is pasted in a defined location for the default CI form. If you have a custom Form, move the Form Controls to a location that fits your form design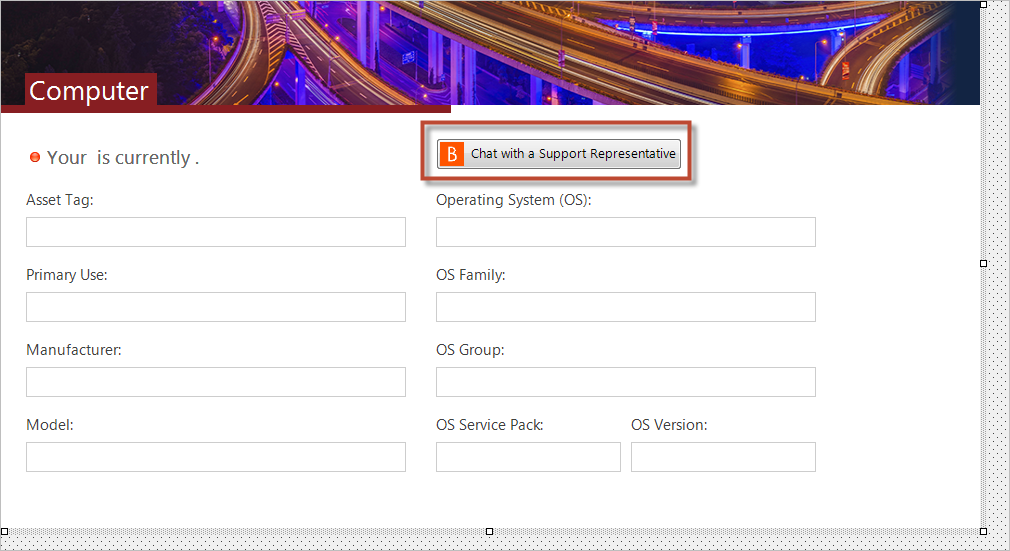
- From the menu bar, click
Edit>Paste.
- (Optional) Add the Form Control to additional CI forms or add it to other Business Object forms, if necessary.
- Click the
Update Blueprint button
 , and then click the
Home button
, and then click the
Home button
 .
.
- Publish the Blue Print.